How to use DOM events
Mastering the handling of DOM events is crucial for effective React development. Below are key events and how to use them:
Retrieving Page Value
on_change: This event triggers when the value of an input page changes.
Angular Component
export class AppComponent {
  handleChange(data) {
    console.log('test ->', data);
  }
}
<DocumentEditor (on_change)="handleChange($event)" </DocumentEditor>Web Component for React
function App() {
  const editorRef = useRef(null);

  // Convert object to string because Web Components expect string attributes
  const toolBarItems = JSON.stringify({
    bold: true,
    italic: true,
    underline: true,
    image: false,
    undo: true,
    redo: true,
  });

  useEffect(() => {
    const editor = editorRef.current;

    if (editor) {
      const handleChange = event => {
        console.log('Content changed:', event.detail);
      };

      // Attach custom event listeners
      editor.addEventListener('on_change', handleChange);

      return () => {
        editor.removeEventListener('on_change', handleChange);
      };
    }
  }, []);

  return (
    <div className="App">
      <web-doc
        ref={editorRef}
        value="Hello world"
        toolbar={toolBarItems}
        toolbar_class="toolbar_class"
        canvas_class="canvas_class"
      ></web-doc>
    </div>
  );
}
Web Component for JavaScript
<!-- In you html file add following code in a body tag where you want to use react canvas editor -->
<body>
  <web-doc
    id="editor"
    value="Hello Web Component!"
    toolbar="${toolbarJson}"
    toolbar_class="${toolbarClassJson}"
  ></web-doc>
  <script type="module" src="/main.js"></script>
</body>
;
// In main.js file(i.e. used as a script in html file) add the following code
import '@angular/compiler'; // Ensure this is installed
import '@mindfiredigital/angular-canvas-editor';
// Define toolbar items
const toolBarItems = {
bold: true,
italic: true,
underline: true,
image: false,
undo: true,
redo: true,
};
// Define toolbar class styles
const toolbar_class = {
item: {
bold: {
'background-color': 'red',
color: 'white',
},
selectedToolbarItemColor: {
color: 'white',
},
},
};
setTimeout(() => {
const editor = document.getElementById('editor');
editor.setAttribute('toolbar', JSON.stringify(toolBarItems));
editor.setAttribute('toolbar_class', JSON.stringify(toolbar_class));
if (editor) {
editor.addEventListener('on_change', event => {
console.log('Content changed:', event.detail);
});
editor.addEventListener('on_select', event => {
console.log('Content selected:', event.detail);
});
}
}, 0);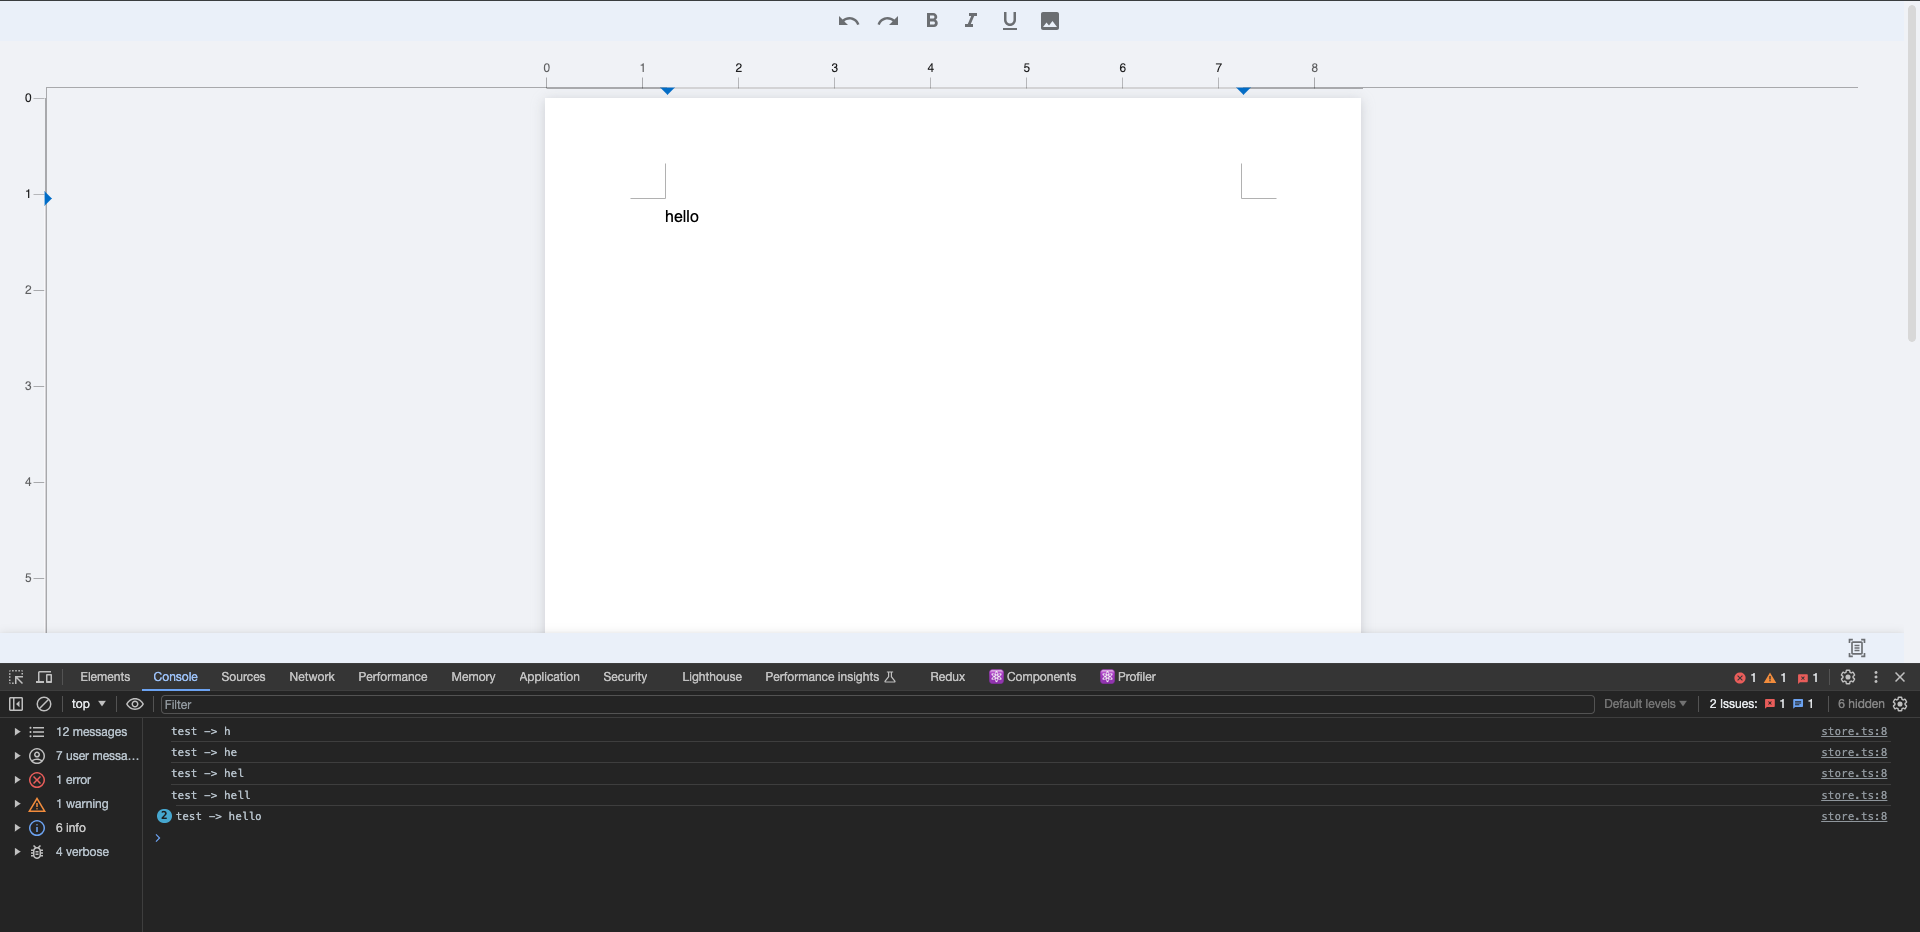
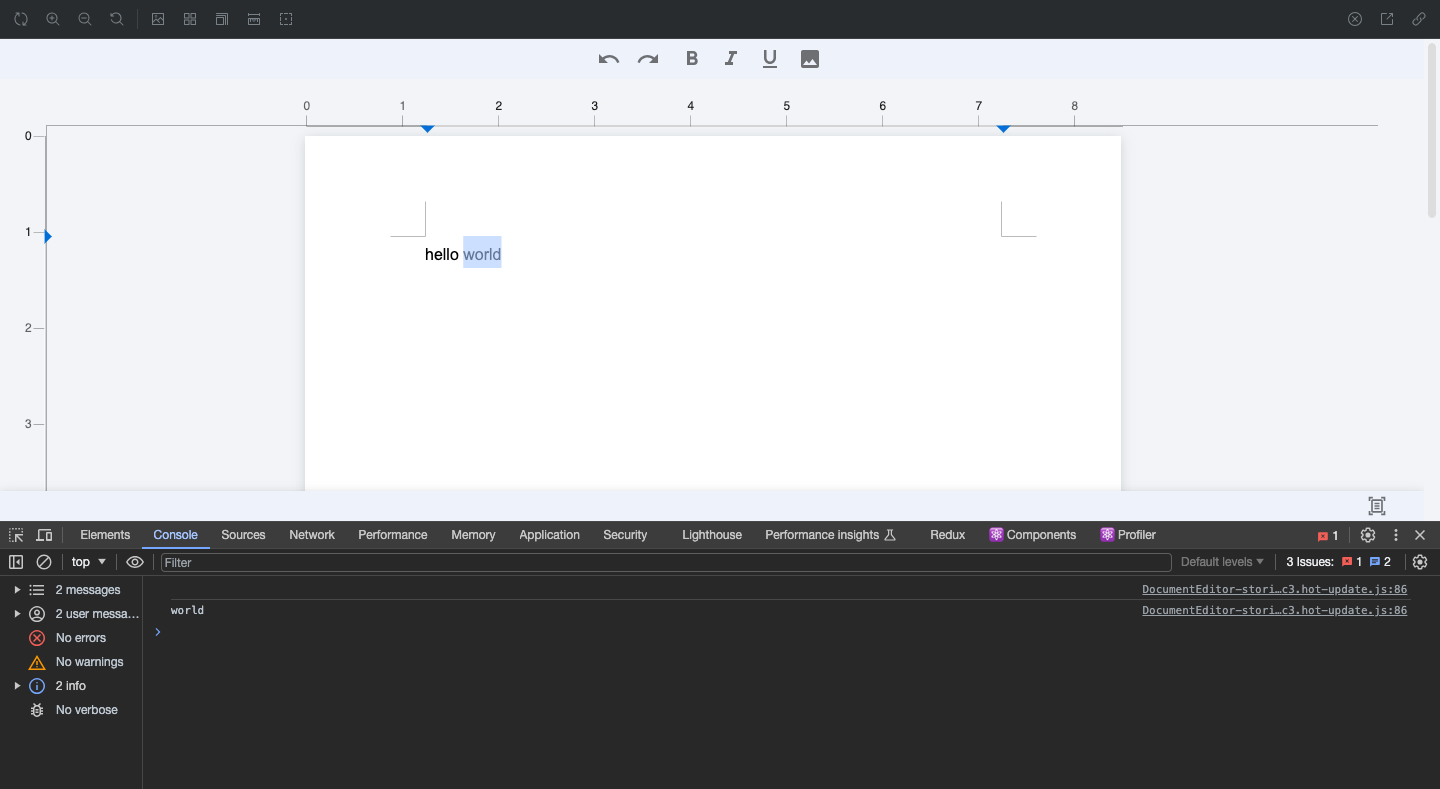
Capturing Selected Text
on_select: This event activates when text on the page is selected.
Angular Component
export class AppComponent {
  handleSelect(data) {
    console.log('test ->', data);
  }
}
<DocumentEditor (on_select)="handleSelect($event)" </DocumentEditor>
Web Component for React
const handleSelectedText = text => {
  console.log(text);
};

DocumentEditorWebComponent({ on_select: handleSelectedText });

export const App = () => <div id="document-editor"></div>;
Web Component for JavaScript
<!-- In you html file add following code in a body tag where you want to use react canvas editor -->
<body>
  <div id="document-editor"></div>
  <script type="module" src="/main.js"></script>
</body>
;
// In main.js file(i.e. used as a script in html file) add the following code
const handleSelectedText = text => {
console.log(text);
};
DocumentEditorWebComponent({ on_select: handleSelectedText });
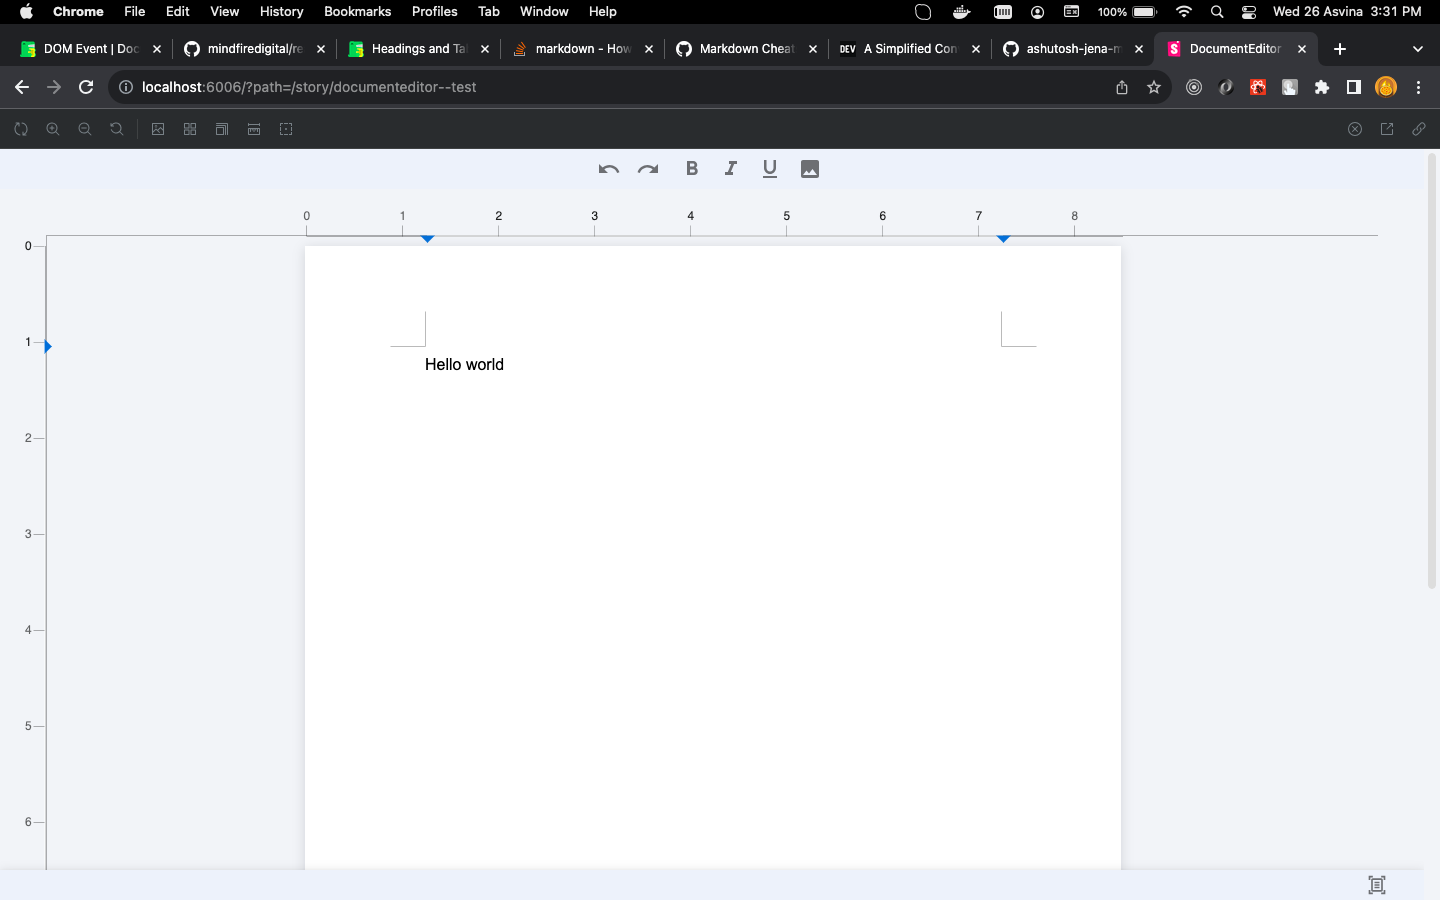
Setting Page Value
value: To assign a value to an input page, use the value attribute.
React Component
export const App = () => {
  return <DocumentEditor value="Hello world" />;
};
Web Component for React
DocumentEditorWebComponent({ value='Hello world' });

export const App = () => <div id='document-editor'></div>;
Web Component for JavaScript
<!-- In you html file add following code in a body tag where you want to use react canvas editor -->
<body>
  <div id="document-editor"></div>
  <script type="module" src="/main.js"></script>
</body>
;
// In main.js file(i.e. used as a script in html file) add the following code
DocumentEditorWebComponent({ value='Hello world' });
By following these steps, you can proficiently work with DOM events in React, enhancing your application's functionality.